

Celebrating invention, inspiring youth from Lemelson-MIT Educators
Report Postclose
Remove Postclose
Are you sure? After you remove the post, it will no longer appear in channel listings but you can access it directly. You can undo this later by clicking "approve".
Delete Postclose
Are you sure you want to delete this post? This is a permanent action and cannot be reversed.

Goal
Learn to devise your own invention using electronics. Create a wearable light-up textile using conductive thread and felt.
Materials:
- Conductive thread
- Coin cell batteries (3V)
- Coin cell holders
- LEDs
- Felt
- Sewing needles
- Fabric glue (optional)
- Sewing thread (optional)
Procedure
- Have students cut their felt into the desired shape and thread the conductive thread onto their needles.
- Have students determine whether they need to create a simple circuit or a parallel circuit. If they only need one light, then sewing a simple circuit will suffice. Students should use a parallel circuit to power multiple lights and increase the challenge level.
- Encourage students to think about what it would be like to create one of their wearable electronic textiles out of the materials. Tell students their design should serve some purpose, such as increasing visibility in the dark. Some items that could be lit up with textile designs include a bracelet, an umbrella, a hat, or a cellphone holder.
- Distribute scissors, a needle, some felt, and two feet of conductive thread to each student.
- (Optional) Distribute scissors, a needle, some felt, and a few feet of thread to each student for sewing practice.
- Instruct the students to repeat the same steps as above to sew the (-) side of the battery holder to the (-) side of the LED.
- Once they reach the LED, have them make at least 3 tight loops around its (+) tab in the same way they attached the battery holder. Have students tie a knot on the back side of the felt to complete this trace.
- Have the students sew the trace from the (+) side of the battery holder to the (+) side on the LED.
- Tell students to trim the knot close to the battery holder.
- Instruct students to stitch the (+) tab of the battery holder to the felt by pushing their needles up through the fabric next to the (+) tab of the holder. Have them tug on their needles to make sure they don’t leave any excess thread on the underside of the fabric. Tell students to push the needle through the (+) hole to create a loop around the (+) tab and secure the battery holder to the fabric. Then they should pull the thread through tightly to make a snug connection between the thread and the tab. Instruct them to repeat this process a few times.
- To make a parallel circuit, have students switch the (+) tab of the new LED to the (+) trace of the original circuit and the (–) tab of the new LED to the (–) trace of the original circuit. Where the new (+) trace intersects the old (+) trace, they should loop the new trace’s thread several times around the old trace’s thread before tying a knot, trimming it, and securing it with fabric glue (optional). Have them do the same with the negative side.
- Encourage kids to be creative and have fun!!
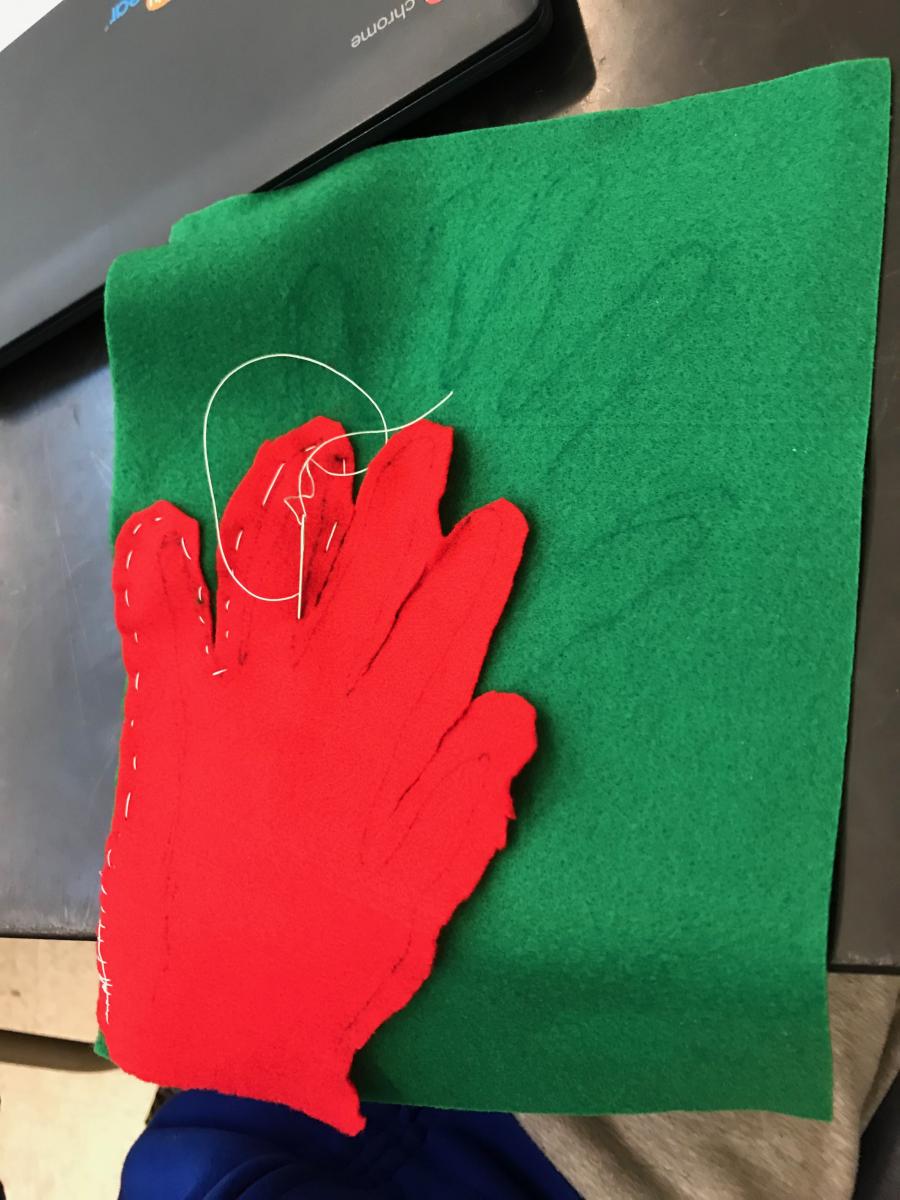
Cutting the felt into the shape of a glove
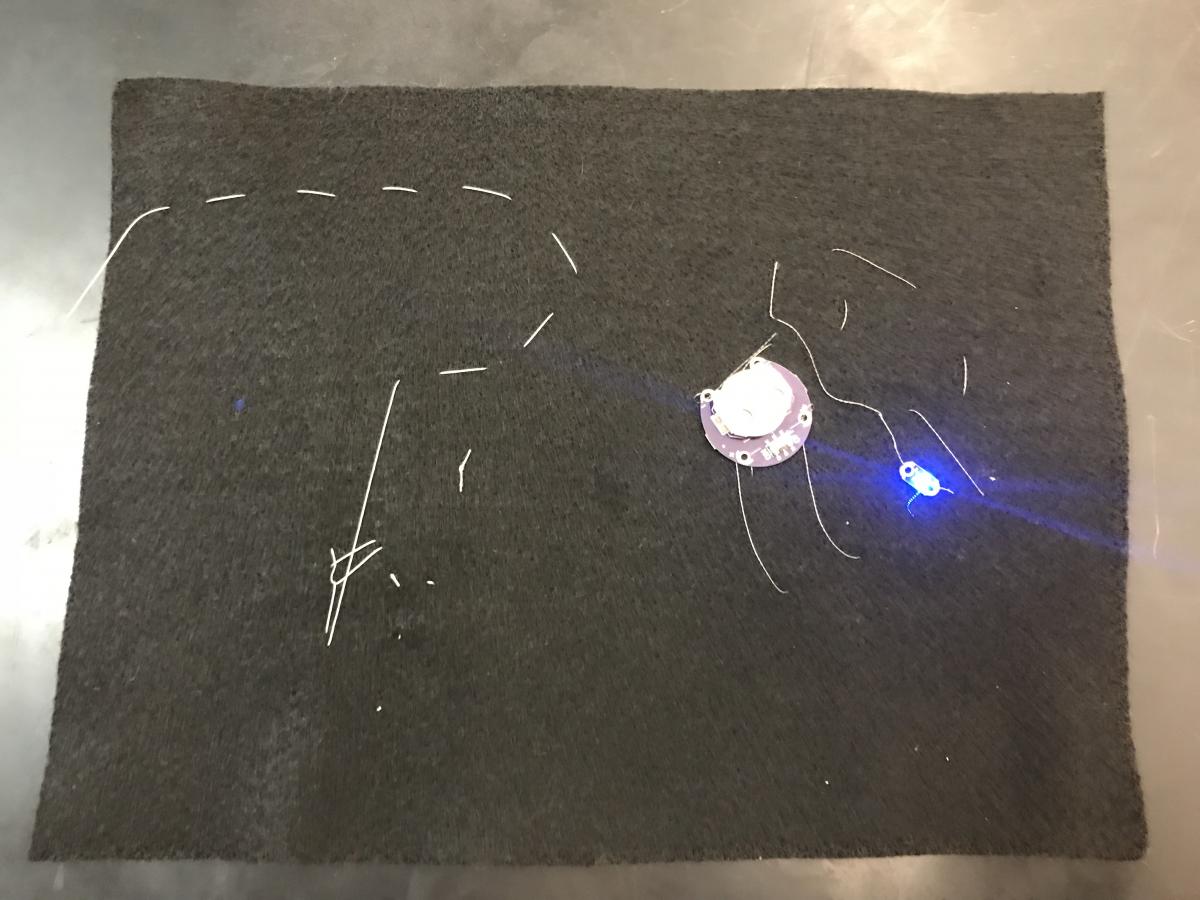
An example of a simple circuit
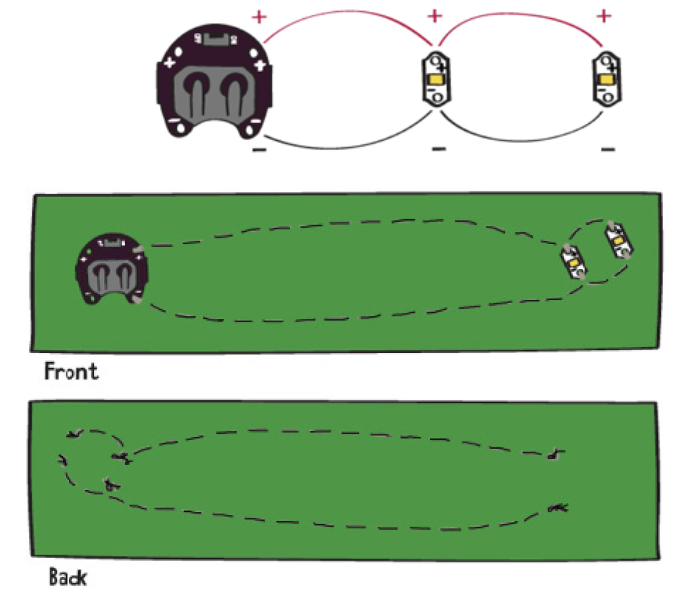
Visual guide of a parallel circuit
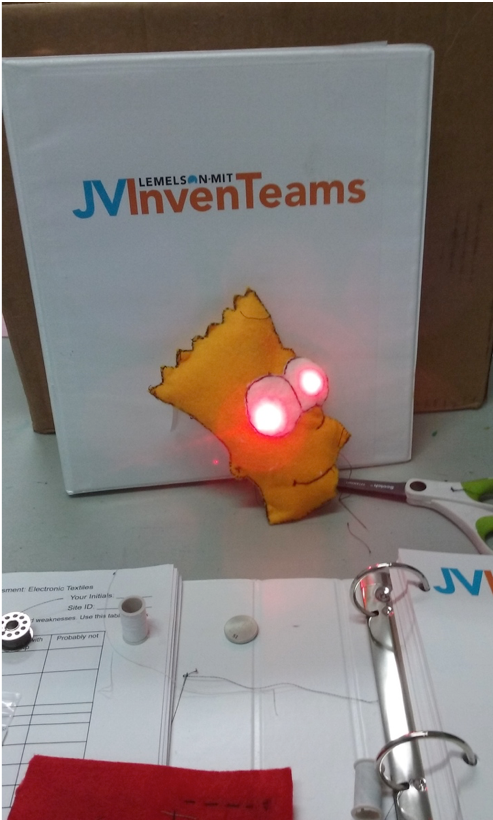
The Simpsons
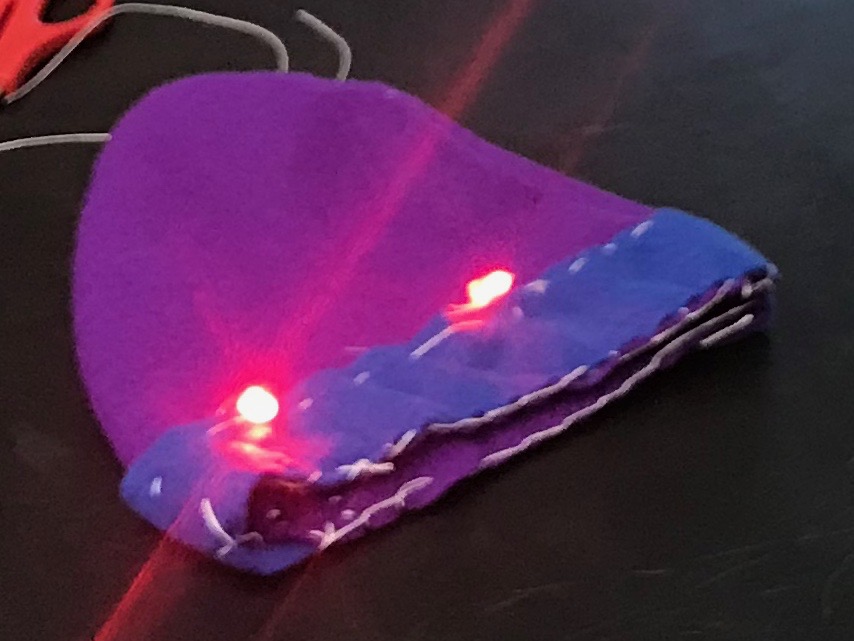
LED hat
rss_feedFollow
Delete Postclose
Are you sure you want to delete this post?